Bellows
The linear slides I got off ebay didn't come with covers to stop swarf getting to the rails and ballscrews. So I decided to cover them with a bellows.
I did a little bit of research. There are some stock sized commercial bellows available; these are usually rubberised fabric, welded at the seams. I couldn't find any that fit, nor could I afford them. So I googled for DIY bellows folding. Again, I drew a blank. Then I checked the USPTO, and I hit a gold.
Patent number 6,054,194, invented by Nathan R. Kane, is not just a description of bellows, but it is a complete thesis on optimal fold patterns for bellows. The optimal patterns will maximise the bellows extension length, while minimising the side wall distortion. By using just the fold pattern, a bellows can be created that holds its shape without external support.
Polypropylene sheet was selected to make the bellows. Polypropylene is a good "hinge" material, meaning it can be fold back and forward repeatedly with fatigue. I tried a couple different thicknesses, 1.2mm, 1mm, .7mm, and finally settled on 0.39mm - not that this is the best size, its just the thinnest stuff I could find in large sheets. I think thinner sheet would be better, but I couldn't find any. I found it at my local craft store.
|
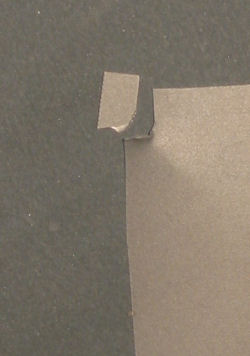
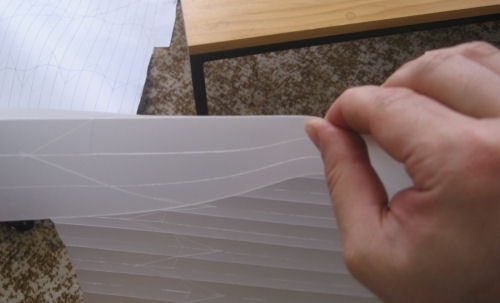
Update! Just a note on polypropylene. Polypropylene has grain! I'm sure my terminology is incorrect, but polypropylene, like paper or timber, has a preferred strong direction and a weak direction. If you try to tear polypropylene sheet in its weak direction, it will continue to tear in the direction it is forced. In the other direction, 90° to the weak direction, the polypropylene will not tear, in fact it will turn 90° to the weak direction. This is because of the polymer chains (so I've read). Why is this a problem? If you try to fold the polypropylene with the folds running parallel to the weak direction, the polypropylene will crack. It is important to get the direction correct so the folds are perpendicular to the weak direction. So how do you find the weak direction? On the corner of a sheet of polypropylene, make a small cut, 5mm long and about 5mm from the edge. Grab this tab and pull it. The pictures below show the results.
The photo on the left shows trying to tear against the grain - you can't do it. The photo on the right shows tearing with the grain. The polypropylene tears easily. It is imporant that the bellows fold lines are placed perpendicular to this weak direction. |

Building the Bellows
1) Print the fold pattern
The first step is to produce a fold pattern for the bellows. For my first bellows, I used MS-Visio to lay out the lines. This was a bit tedious, so I wrote a simple program.
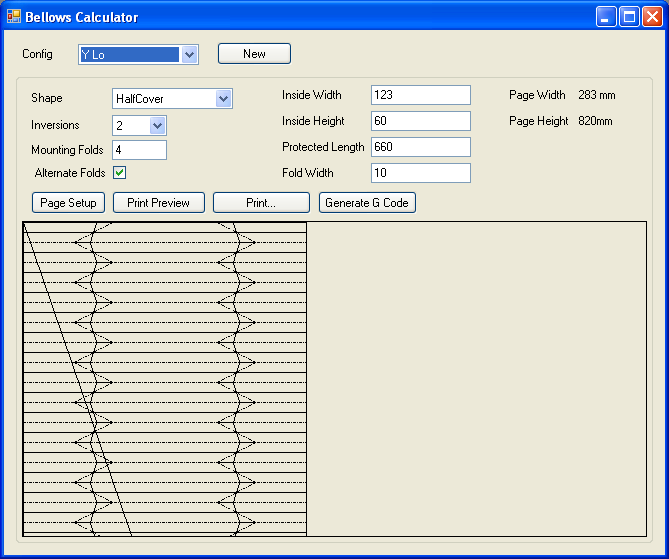
The program will only create a fold pattern for a simple bellows with either regular or alternating folds. The "generate g-code" option is not functional. I want to be able to generate g-code to guide a knife to score the bellows material, however all the bellows I need to create are larger than my mill, so this feature was postponed.
The parameters are...
| Config | Different configurations can be selected. Configurations are automatically saved when the program exits, or a new configuration is selected. |
| New | Creates a new configuration. |
| Shape | Only a "Half Cover" is supported (2 sides and a top) |
| Inversion | Only 2 inversion are supported |
| Mounting Folds | The total number of extra folds to add for mounting the ends of the bellows |
| Alternate Folds | If true, adjacent folds will alternate up and down, rather than being in the same direction. This makes the compressed bellows smaller, but the top of the bellows has folds that may collect swarf. |
| Inside Width | The inside width that the bellows is going to cover. |
| Inside Heigth | The inside height that the bellows is going to cover. |
| Protected Length | The length of the area the bellows is going to cover. |
| Fold Width | The width of one fold. |
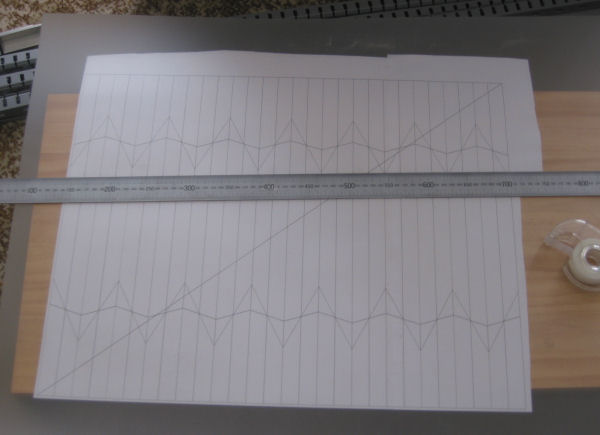
The program will print out the fold pattern. It will tile the output over multiple pages. The diagonal line is used for lining up the pages when they are stuck together.
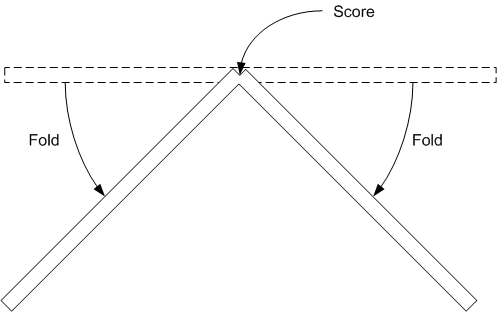
The image below shows a snippet of the fold pattern. Note the solid and dotted lines. A solid line is a peak fold, and a dotted line is a valley fold (or vice-versa, it doesn't matter).
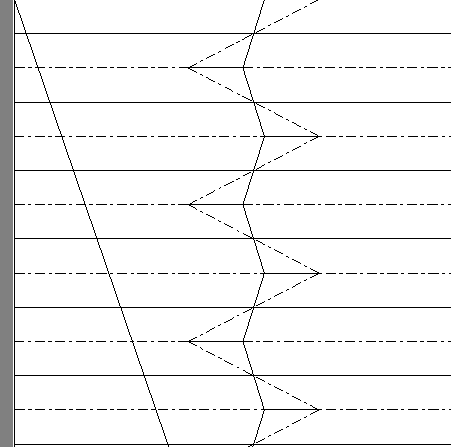
The picture shows the fold pattern with a sheet of clear/translucent polypropylene on top.
The program and source can be downloaded here
![]() .
The code isn't terribly stable. It was only used to
generate a couple of patterns. The displayed pattern will
only be updated when you tab between fields. There is no
zoom - make the window bigger to see more of the pattern.
.
The code isn't terribly stable. It was only used to
generate a couple of patterns. The displayed pattern will
only be updated when you tab between fields. There is no
zoom - make the window bigger to see more of the pattern.
2) Trim
The polypropylene sheet is cut to size. It is then stuck to the fold pattern using tape.
3) Score the lines
The next step is to encourage the polypropylene sheet to fold at the correct place. If these were being produced commercially, they could be vacuum formed, or pressed. Since this is overkill for a couple of one-offs, I tried a couple of manual techniques.
First I tried scoring with a hobby knife. This was fine, but in a few spots the cuts went a bit deep and made the fold weak. Next, I tried using my soldering iron to melt a grove. This wasn't terribly successful as shown by the video below. I did learn though that the scoring and folding needs to be very accurate, or the bellows will not fold properly. Finally, I settled on a scriber - a pen with a sharp carbide tip used for scratching metal, to scratch the polypropylene.
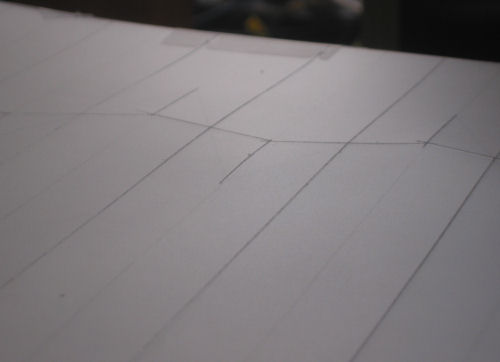
Use a metal ruler and carefully trace over the peak folds. Take care and do this accurately or the bellows will not fold properly. Don't score the diagonal guide line running the length of page.
The picture below shows the scored peak folds. The lighting in the picture makes them appear black.
When scoring fold corners (line intersections), make sure you overshoot the intersection by 2 or 3mm. This will help with the folding later.
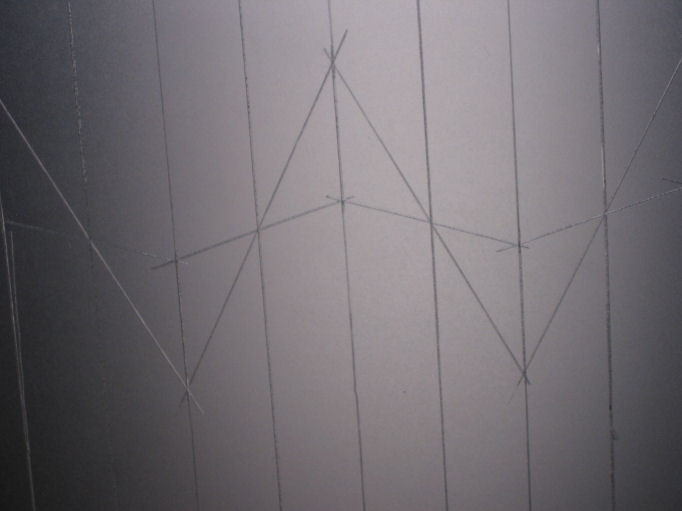
When the top is finished, remove the polypropylene sheet, flip it over and stick it back down on the fold pattern. You can use the scored peak folds to line up with the printed peak lines as the bellows patterns are symetrical. Then score the valley fold lines.
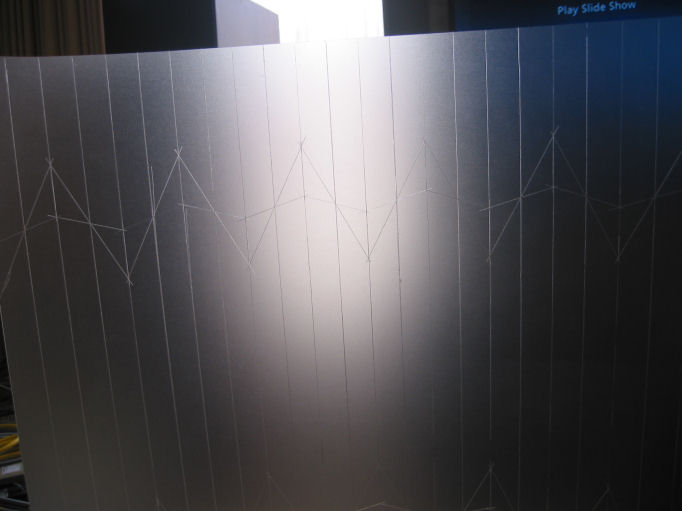
The photo below shows a scored polypropylene sheet.
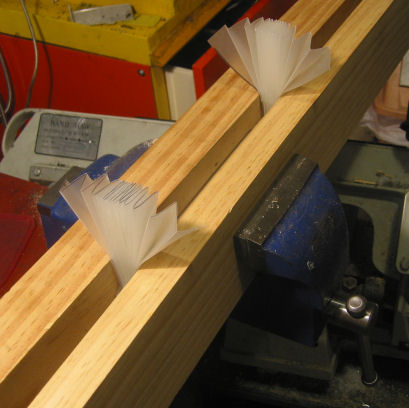
4) Crease the Folds
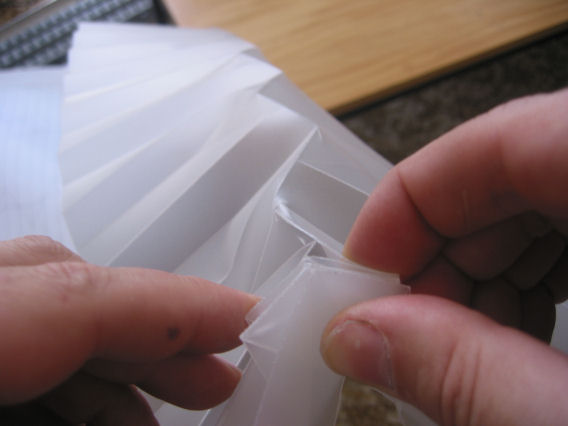
Next, each of the scored lines needs to be creased. Here, we are not trying to fold the bellows, just get the folds going in the right direction. Just bend each fold and squeeze them with your fingers, like in the photo below.
It is important to get all the small angle folds. The folds must also be done in the right direction. If a scored line is on the top of the sheet, the two sides of the fold should fold down, like this...
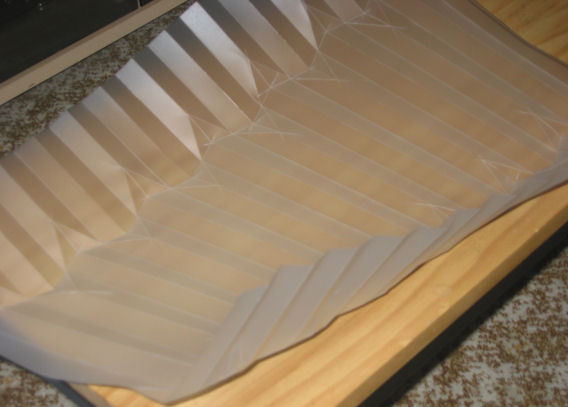
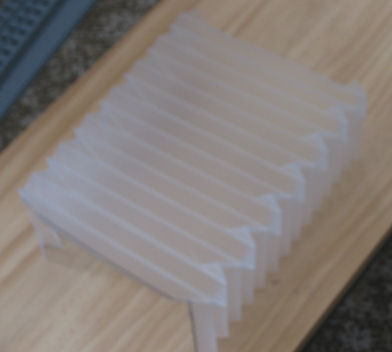
The creased bellows will look like this...
5) Folding
The final folding is the tricky bit. Although the initial creasing does help the bellows want to go in the right direction, it still takes a lot of finger muscle and patience to fold the bellows. It is important that the corners are sharp, otherwise they will be a source of ballooning.
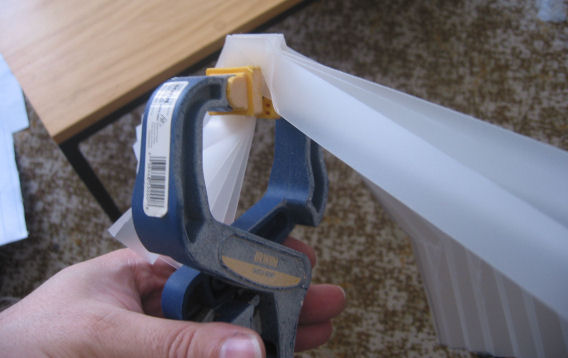
I found it easiest to fold the bellows if I worked on one side, folded 3 or 4 folds, clamp it, then do the other side.
The quick release clamps worked well holding a few folds at a time.
Finally, all folded.
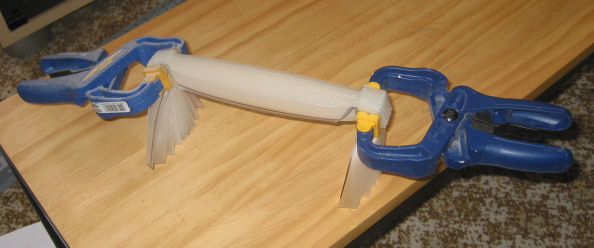
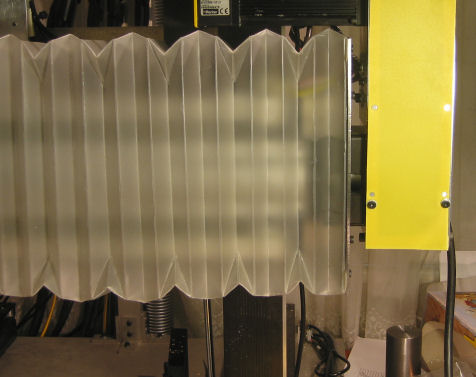
The bellows is clamped between two chunks of timber to encourage it to stay in place.
The completed (blurry) bellows.
6) Mounting
Obviously this will depend on what you plan to use the bellows for. I used some 3mm steel plate to mount on each end of the bellows. The bellows are held to the plates by M4 screws and small lengths of 3x10mm bar, tapped for the M4 screws. These were then mounted to my X axis slide.
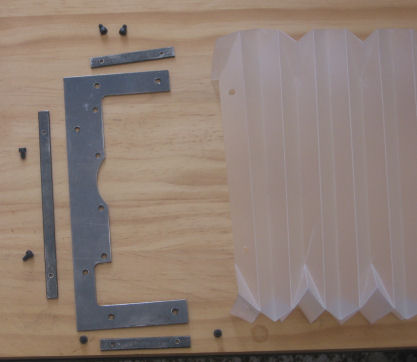
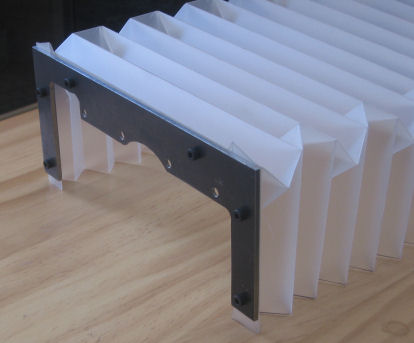
3mm steel plate probably wasn't the best choice for mounting the bellows, as I have already hit tall hold down bolts with it. In the future, I may tray thick plastic, and self adhesive velcro strips.
When good bellows go bad!
The video below shows what happens when a bellows isn't folded correctly. The bellows on the right was bubbling out when it was closing. This snagged when moving in the Y direction, leaving what you see now...