Splash guard
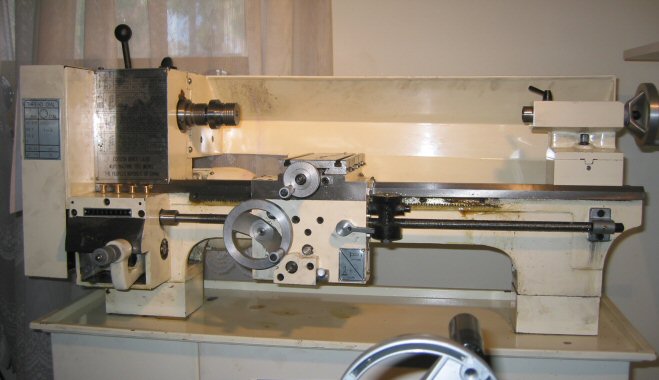
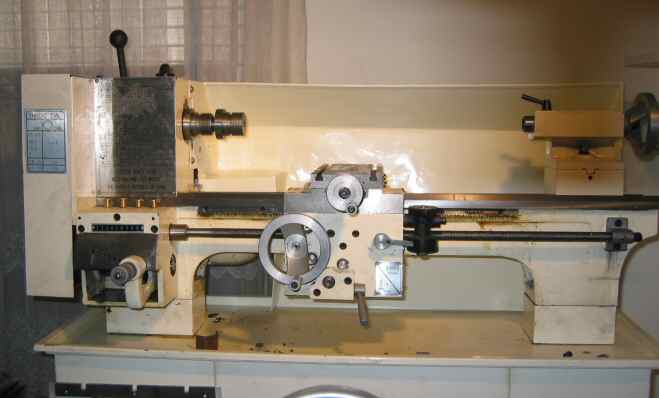
As you can see from the photo of my lathe, the splash guard does not provide coverage down to the table. After a weekend of turning, there would be as much swarf down that back of the lathe as there was caught on the table. I could either stop and clean up more regularly, or extend the splash guard - Yippee! Another project.
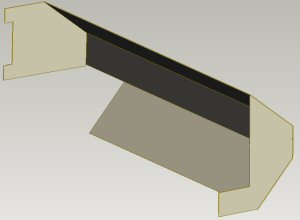
I disassembled the existing splash guard, measured it up and put it into Pro/DESKTOP. Then I set about determining how to extended it to make it seamlessly blend into the exist guard. My plan was to use a few strategic cuts on the existing guard, and then insert some new bits to make it all bigger. This would be a fun opportunity try out my Oxy Acetylene welding skills on sheet metal.
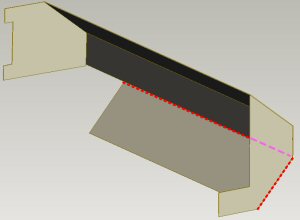
The picture on the left is the before drawing. The one on the right is the after drawing. The red bits are the new additions.
 |
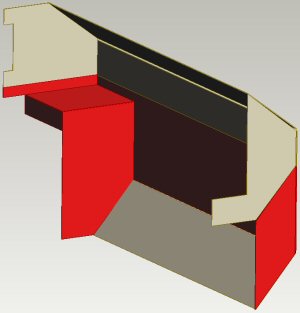 |
The additional parts are shown in the sketches below. A full image is available behind the link The insertions extend the guard down to the table, and make a small box over the top of the motor. Swarf was finding itself into the back of the lathe motor.
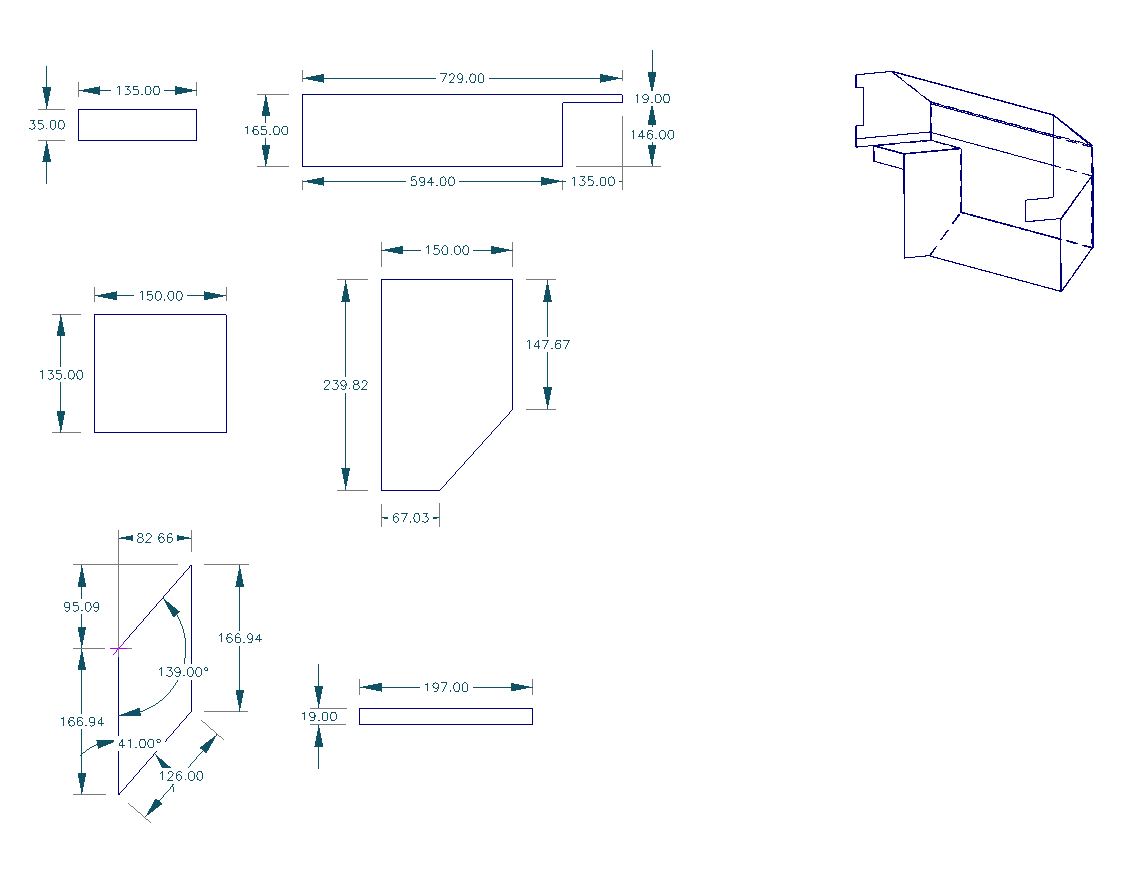
The parts were cut out of 1.6mm mild steel sheet using a jig saw. Two cuts were then made on the old lathe guard to insert the extension pieces. These cuts are shown below.
Then the simple process of welding in the new pieces. That has been done, sort of. It is so warped it is not funny. It still needs to be sanded then painted. If it looks acceptable I may post pictures.
The finished splash guard
Here is a picture of the completed splash guard reinstalled on the lathe...
As you can see now, the splash guard comes all the way down to the lathe stand. Hopefully this will mean less swarf on the floor.
The only problem is the small step the covers the motor. As you can see from the photo, it tends to kick up a bit, which makes the gap between it and the saddle very small. But I think a bit of pounding with the mallet should straighten that out - in a week or so, when the paint sets a bit more.