CNC Lathe Touch Screen Interface
I’ve been using my lathe less after the cnc conversion – small tasks like facing or reducing a diameter would require a lot of set up and writing a program. I also use a KVM with one monitor, keyboard and mouse, which is away from the lathe.
So now I’ve built a dedicated touch screen panel…
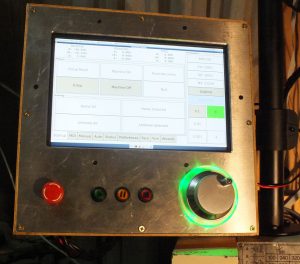
The panel is just a piece of 3mm aluminium, over a wooden box. There are cut outs for a Run, Pause, Stop buttons, an MPG and an emergency stop button. The E-Stop button isn’t wired because I think it is in a bad position; too easy to hit accidentally. There is another E-Stop button nearby on the electrical panel.
The buttons, MPG and backlight are controlled by a GenericHID board (Source here), interfaced to linuxcnc using hidcomp.
There is a large cut out for a 10.1″ Resistive Touch Screen (1920×1200). It’s a Zhixianda with metal frame I bought on aliexpress.
I’m running the latest Linuxcnc (master) using a modified version of the “touchy” UI. I’ve made a few tweaks to the UI…
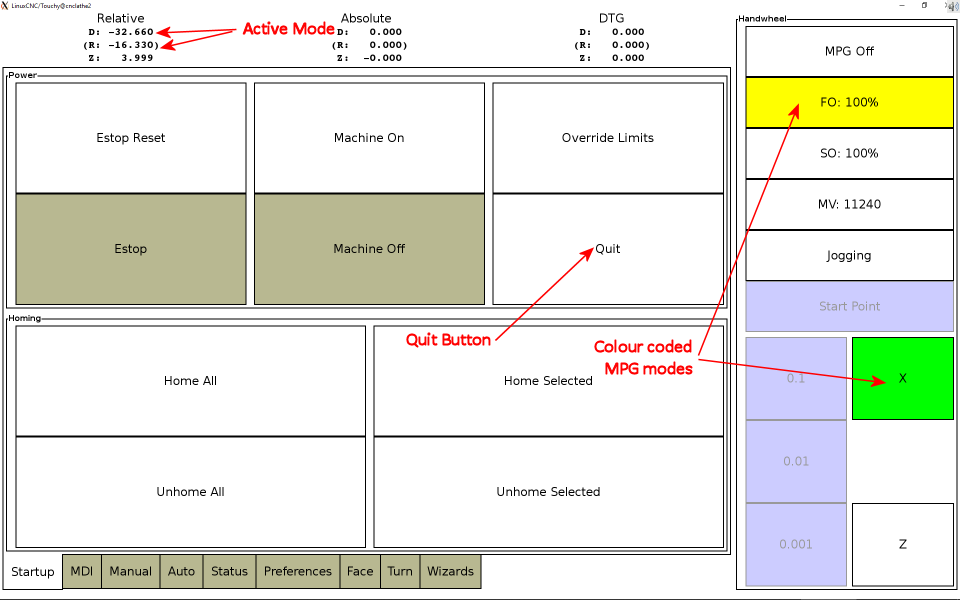
- The active diameter/radius mode is displayed first, with the other mode 2nd in parenthesis.
- Added a quit button. I’ve configured linux to automatically launch into touchy at power up, with no window manager (added to .xinitrc). So I need a way to exit linuxcnc gracefully before powering off.
- Added face and turn interactive tabs, and a tab for wizards (cycles)
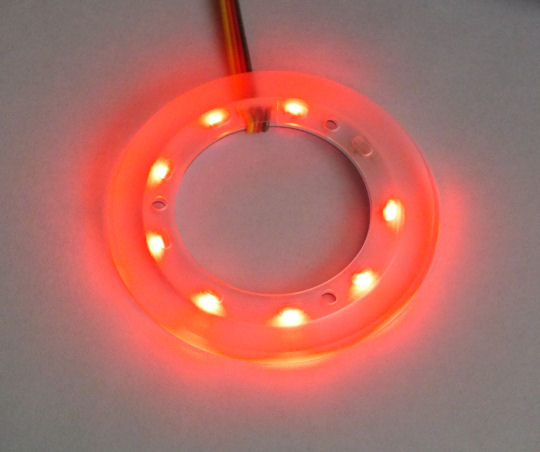
- Changed the background colour of the active MPG mode button. (using a custom theme) I’ve also added a backlight to the MPG so it is clear to see which mode is active. This is to make it clear that the MPG is active to help reduce accidentally bumping it.
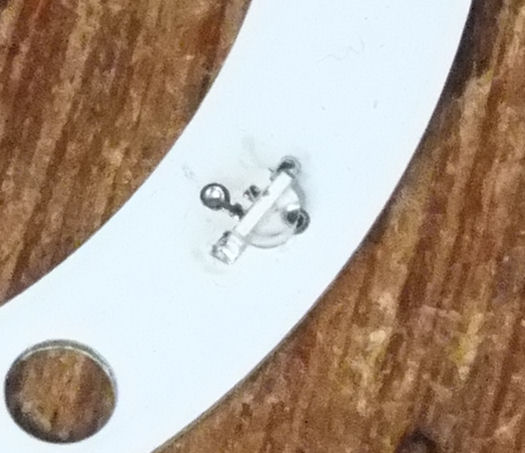
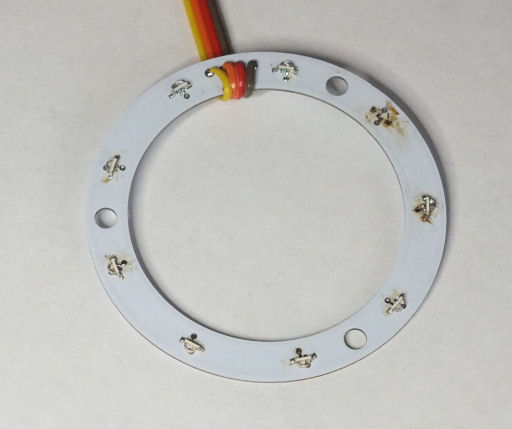
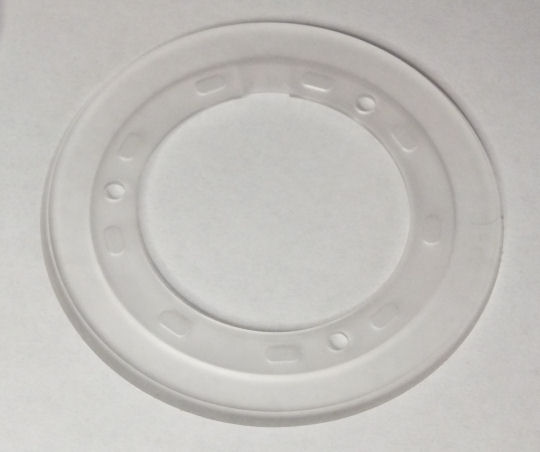
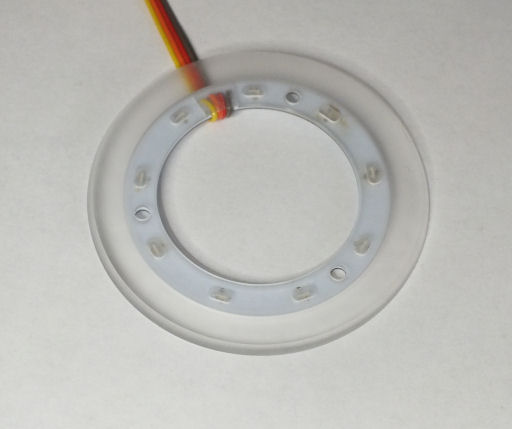
The backlight is a simple ring pcb with 9 LEDs spaced evenly. I used Kingbright KPFA-3010RGBC-11 surface mount LEDs. These LEDs can be installed on their side so they emit light outwards.
The LEDs are RGB with a common anode. I was lazy in the design and just paralleled the colours – there is only 1 current limiting resistor per colour (installed in the cable). There is a danger if 1 LED fails, the increasing current could take them all out – I’ve tried to mitigate against this by restricting the total current per colour to 35mA, under 5mA each. If this still fails, version 2.0 will have resistors on each LED colour (3*9=27).
To help use the lathe as more of a conventional machine, I’ve added a few additional tabs to touchy for interactive facing and turning, and a general collection of wizards.
The “interactive” tabs are an attempt to provide a “manual experience” on the cnc lathe. The idea is to simulate what I would do manually. For facing…
- Jog to the end of the work piece and touch off as my Z start position
- Jog to the outside to find the X start position
- Take a facing cut
- If that didn’t remove enough material, repeat
So that is what the wizard does – set the parameters, and hit “run” to take one facing cut at a time.
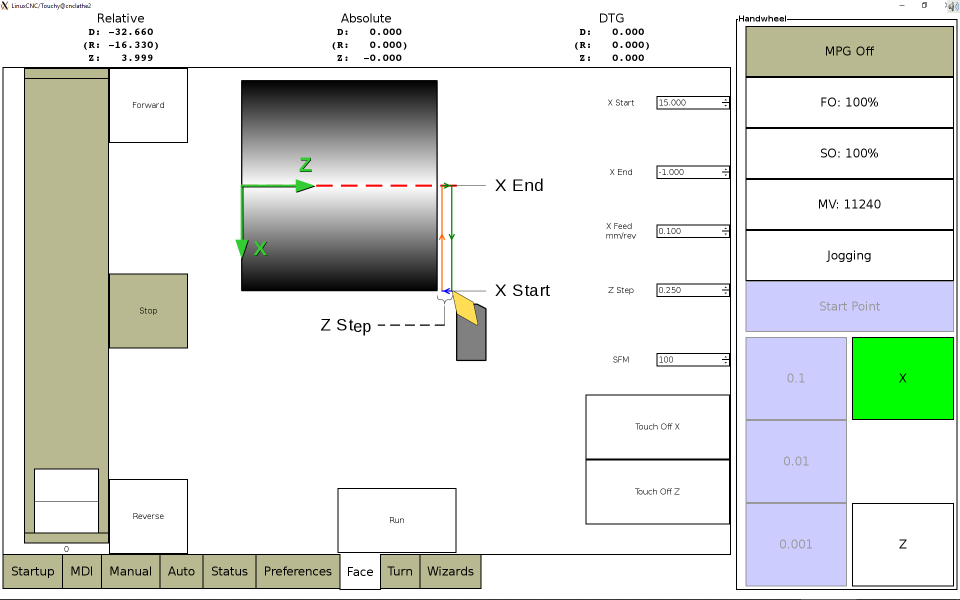
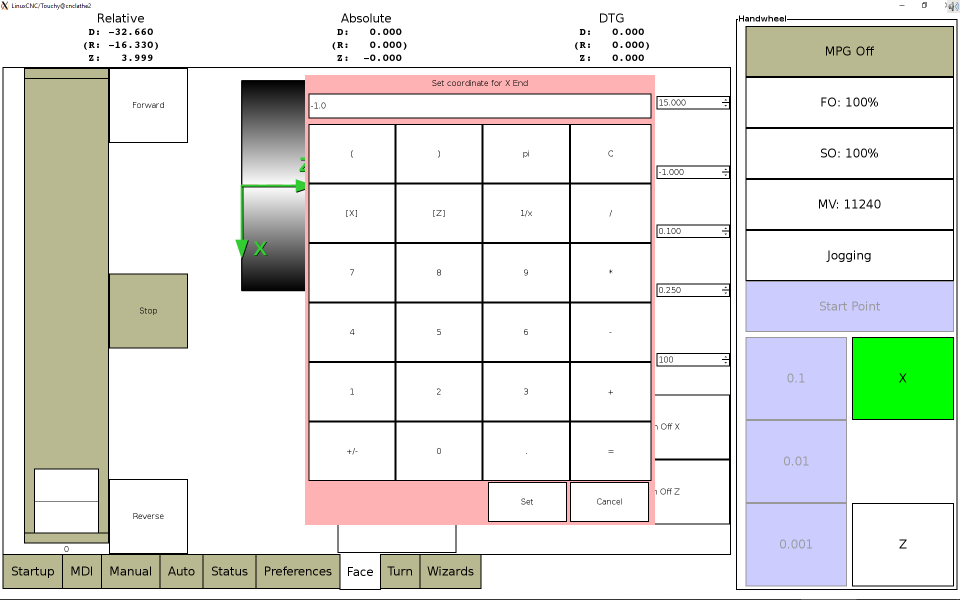
To enter parameters, touching an input field pops up the calculator (which is standard). To this I’ve added [X] and [Z] buttons to copy the current X or Z position values. On the main tab, there are also “Touch Off X” and “Touch Off Z” buttons to zero X and Z respectively.
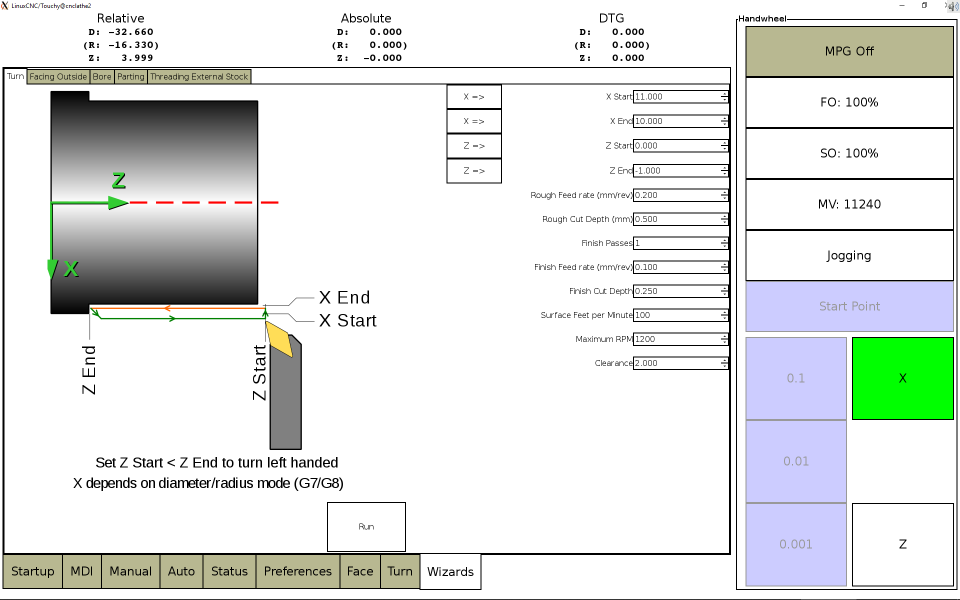
The wizards are an extension of the gwiz wizards I’ve been playing with. Here I’ve only brought across 5 of the wizards (Turn, Face, Bore, Parting, Threading).
The wizards are more detailed than the interactive tabs. Multiple passes, finishing passes, etc can be executed through the wizard. Unlike gwiz though, only one wizard can be run at once – you can build-up multiple operations into one file.
An addition is, again, the ability to set a parameter with the current X or Z coordinate. In this case, there are specific “X =>” and “Z =>” buttons which helps reduce errors copying the wrong values.
My lathe configuration is in github – https://github.com/ftkalcevic/CNCConfig/tree/master/9x20lathe