Lathe Bench
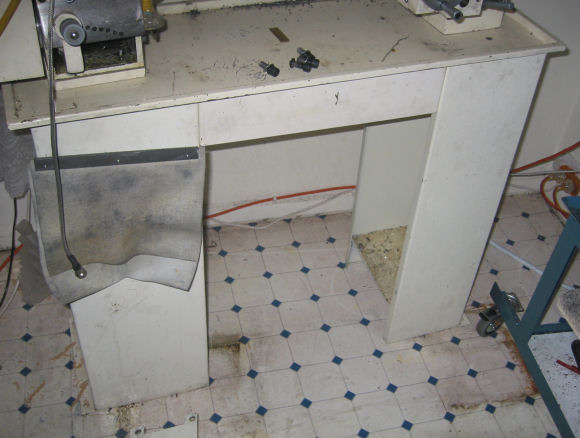
My small 9x20 bench lathe came with a sheet metal stand. It is quite rigid for its size, but being small, it will shake with off-centre work, and will rock back and forth when turning the leadscrew handle.
My design is based on the one in "The Home Shop Machinists, Projects Four". Requirements for the new bench were...
- Rock solid
- Easy to clean
- Lots of storage space
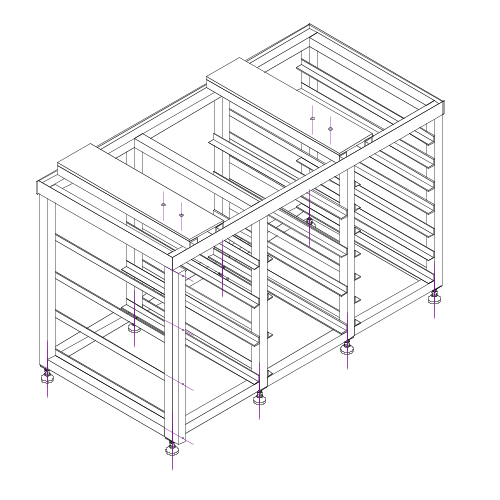
There are 8 feet on the bench. I am using Fallshaw's a-justa-foot. Each foot is height adjustable and can hold 500kg. Well over-engineered!
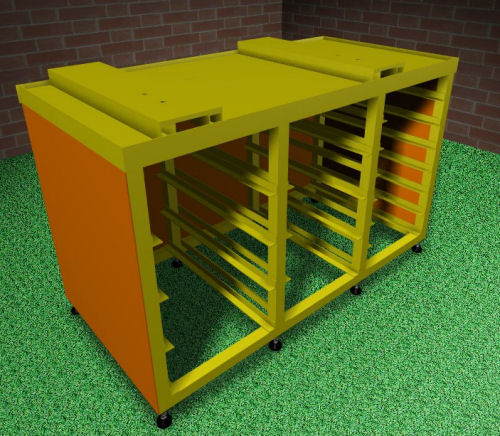
The next picture is the 3D rendering, showing my "bright" colour scheme, and all the drawers. I wonder how long it will take me to fill them? There are 2 large drawers, 6 medium drawers, and 7 small drawers. The orange side panels are 3mm ply - there just to keep the swarf out of the drawers.
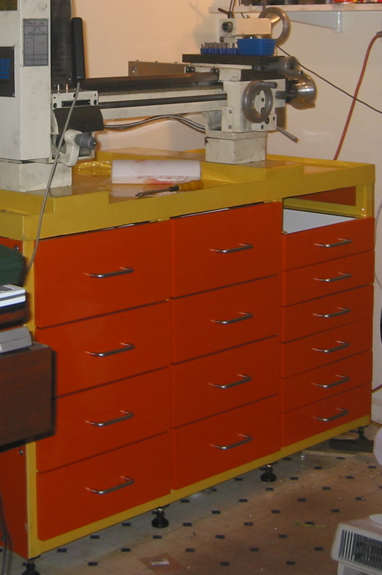
Here is the a real photo of the bench. It's an action shot - the bench holding stuff! The yellow paint is "Hardnose" topcoat from PPC. It is a two part paint the dries very hard and is chemical resistant.
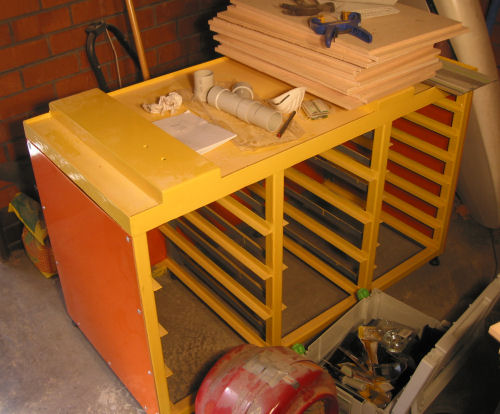
The stack of plywood on top of the bench is for the bases of the 15 drawers. The sides of the drawers will be dovetailed for extra strength. I'm using the DoveTail Template Master. There is a slight delay completing the bench while I build my router table. This will be useful for finishing the drawer sides correctly.
The PVC piping of the bench is for use with my dust extraction system. I have a Festool CT-11e - the discontinued model (although accessories and consumables are the same as the other models). I usually connect my router directly to the vacuum, but with the router table, I want to connect to the router and the router fence. Festool charge $71 for the 50mm Y adapator, and $246 for 2.5m of 50mm antistatic hose. I paid $4 for the Y, $8 for 1m of 50mm pipe, and $20 for 20m of flexible AGI pipe. I'll run a bit of copper wire down the inside of the pipe to make it anti-static. Well that was the plan. When I connected it all up, the pipe makes a deafening howling noise. I don't know if it was the pipe, or the connectors, but in the end I had to fork out the money to Festool to connect it all up.
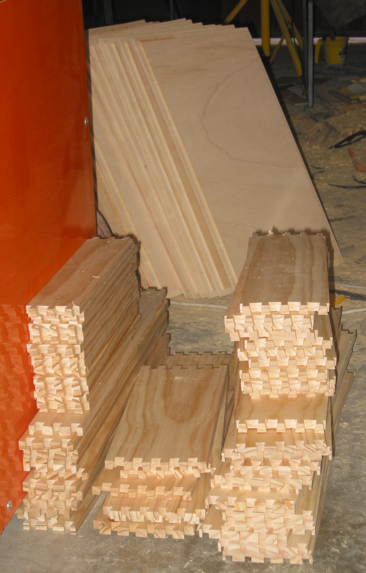
The cutting and dovetailing of the drawer parts was quite simple, but a bit tedious. Using the jig, the parts need to be carefully aligned then routed with the dovetail bit on one side of the corner, then the straight bit is used on the other corner. This work was partitioned into 6 batches - one for each bit: dovetail and straight, done for three different sizes. Below is the pile of timber ready to be assembled into drawers.
And here is one assembled drawers.

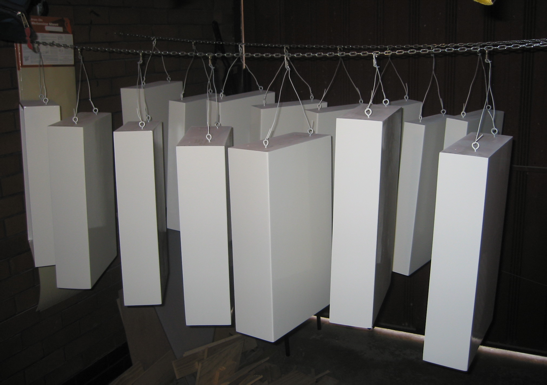
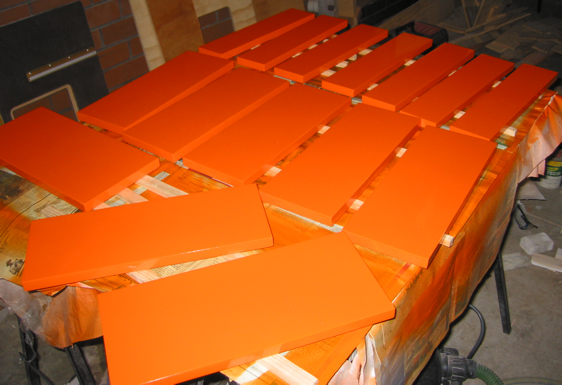
Painting dragged on a bit. I wanted a hard wearing and oil resistant paint for the drawers. I used 2 coats of Solver Paint's Pink Primer for surface preparation and 2 coats of their Supergloss Spraying Enamel. From memory this was about $120 for 4 litres of white, and $80 a litre for the "Tangerine" - this was expensive because the orange colouring is lead based. Between each coat of the primer, I sanded and filled the imperfections. Below are pictures of the drawer bodies and faces.
And here is the completed drawer, the front face screwed on from behind through the hanging holes. The handles were from Bunnings.
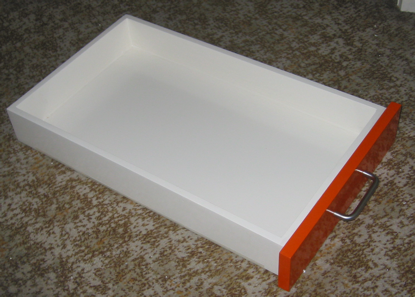
Because the drawers will be sliding on painted metal rails, I used some UHMW (Ultra High Molecular Weight) Polyethylene tape on the edges of the drawers. This tape is abrasion resistant and incredibly slippery, excellent for drawers filled with 40kg of lathe chucks. The picture below shows the tape on the bottom edge of the drawer. The tape is quite stiff and I was concerned it would come loose, but the painted surfaces were clean and the tape's adhesive is very strong. I got the tape from Professional Woodworking Supplies, hidden in the Saw/Planer Accessories section.

And here it is, the completed bench (except for one drawer that was off on a photo shoot).
What would I do differently?
- Probably no change in the construction, except for maybe spray painting the Hardnose on the body (yellow bits) - there are some obvious spots I missed on the second coat. Oh, and I'd rethink the primer coats. Pink primer is icky stuff that takes to long to dry, especially if there is a run, or if it is filling a small hole. It then clogs up the sanding disks.
- I probably need to mount the lathe a bit further back, as chips spray on the the floor too easily. This I can do by drilling new mounting holes.
- Think about drawer positioning a bit better. The most used drawers are the small set of seven on the far side. These can be inaccessible if I park the bandsaw in from of the lathe. These drawers should have been on the left.
- I should have used drawer runners for the 2 large drawers. They have a tendency to drop suddenly when pulled out too far. This can be pain full with the drawer full of chucks.
- The drawer faces stop the drawers sliding at the bench frame. This leaves them protruding slightly allowing swarf and oil to dribble in. There needs to be an overhang above the top drawer to deflect gunk.
- Although the adjustable feet are great for levelling the bench, they leave a nice little gap for important pieces to roll under. I need to cover up this gap.